

FROM LAXALLSTARS.COM
Let’s face it folks, those backyard and practice nets aren’t made to last. Sometimes I even question if they are made for lacrosse, do they ever hold up for anyone shooting faster than a 2nd grader?
The one thing we can count on them for is being CHEAP! Here at #LaxHacks we love to stay ballin’ on a budget so instead of knocking on the practice nets for what they lack, I like what they do offer, affordable lacrosse training guides!
For those of us who have shot on our backyard goals for more than 20 minutes, we are all likely facing the same problem…holes, holes everywhere!
Well no worries, we’ve got 3 Easy Steps to patching your old lacrosse nets! Follow along and make those nets last!
(MORE AFTER THE JUMP)
(MORE AFTER THE JUMP)
Things You’ll Need
Below is a complete list of the tools and materials needed to make nubs out of a lacrosse shaft. It shouldn’t be too difficult to scoop ‘em up from your garage or tool shed – just be sure to ask for permission if necessary.
- Scissors
- Lighter
- Spool of twine or nylon string
- Old lacrosse net
- Zip ties (optional)
3 Simple Steps
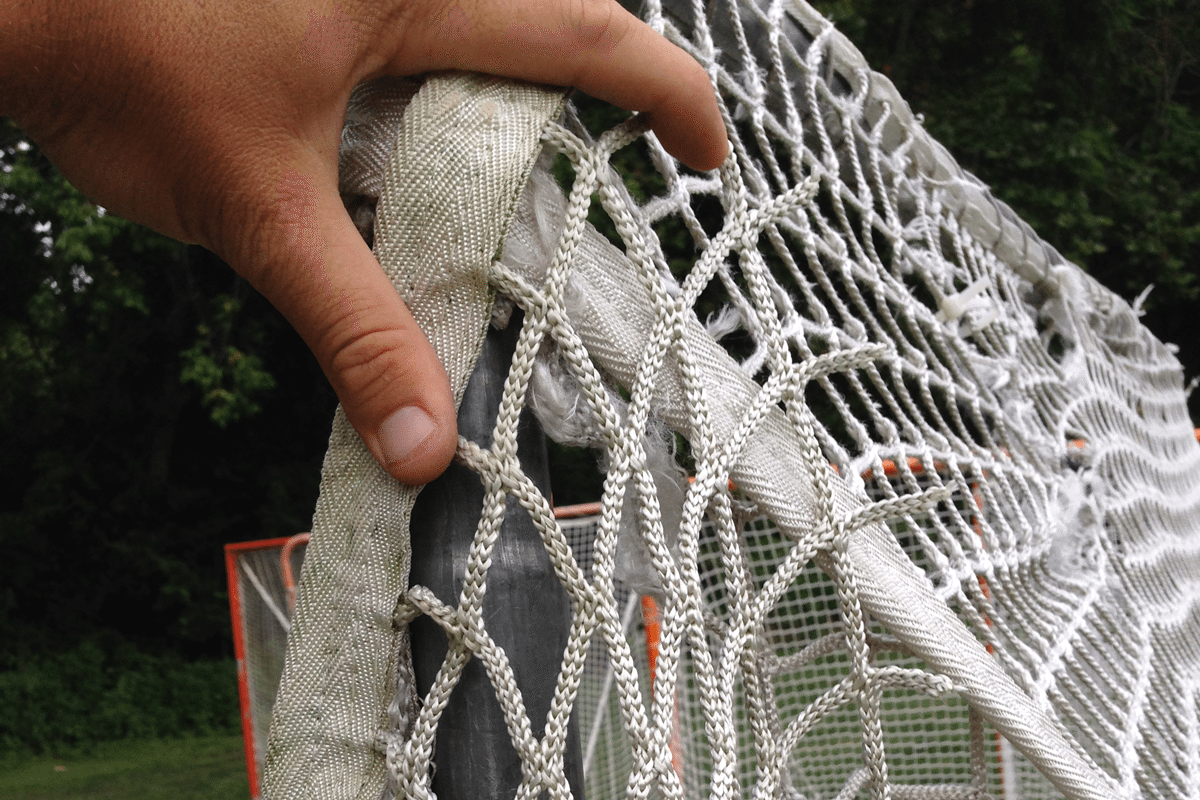
Step one: Identification and Preparation.
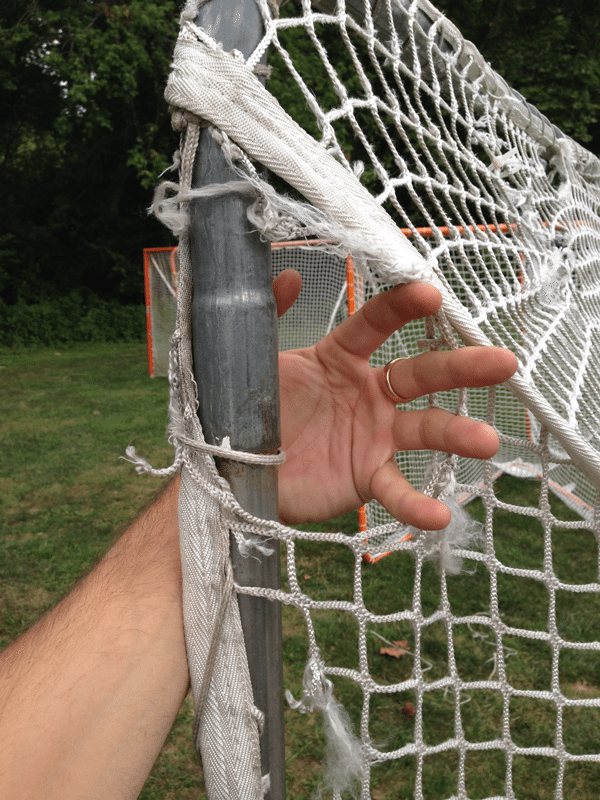
Locate the problem area(s) on the net that need patching and prepare them for the process. This can be done by twisting the net tied to the post taking slack from the hole.
You can also trim around the broken diamonds/squares as preferred, but not necessary.
Step Two: Cutting your Patch.
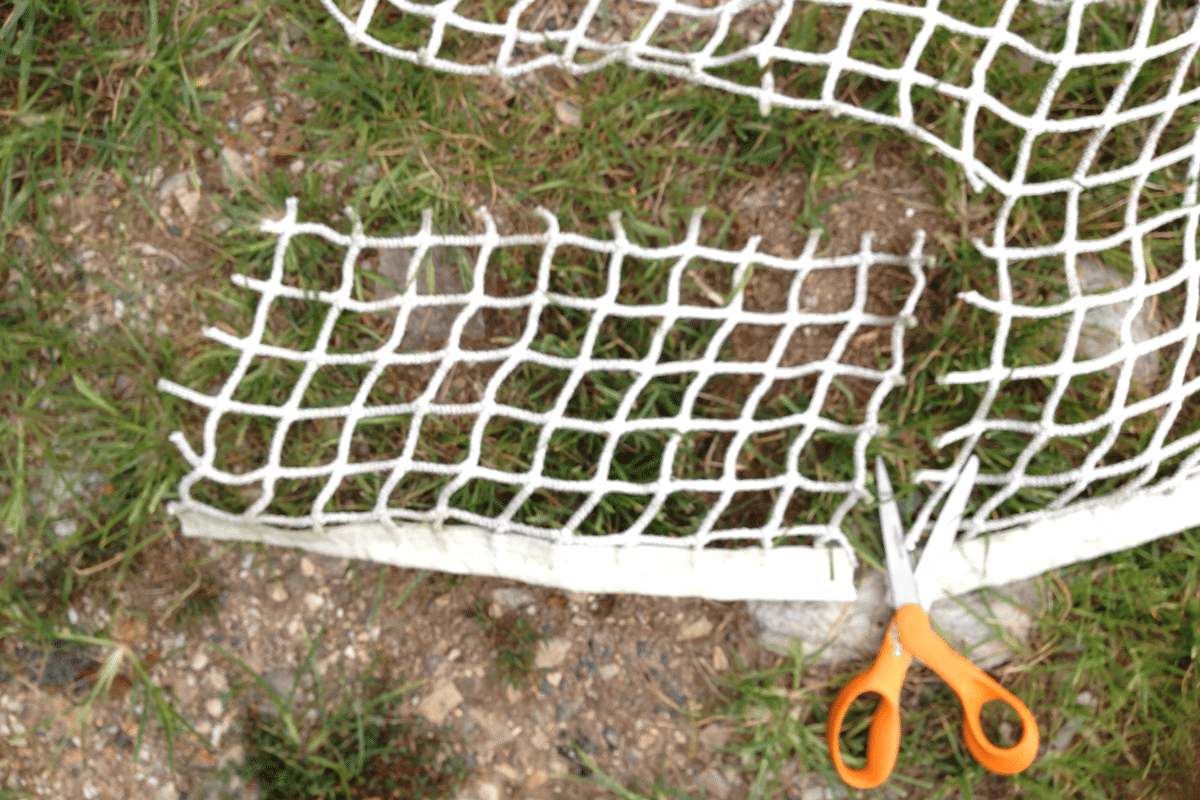
Hold you old net up to the area to be patched. I always cut 2-3 diamonds/squares extra so there’s no chance of you missing the hole you’re trying to fix.
Simply follow the same row you start off cutting to ensue a straight cut. Make the necessary 90 degree cuts to get your patch ready to place.
Step Three: Patch your Hole.
Start by holding your patch (on the inside or outside of the net) over the hole and attach your twine/nylon string to a corner of the patch and pipe of the goal (this is where the zip ties can come in handy). Then string your patch as you would sidewall on a head. Follow the patch around the edge, securing the patch to the net tightly.
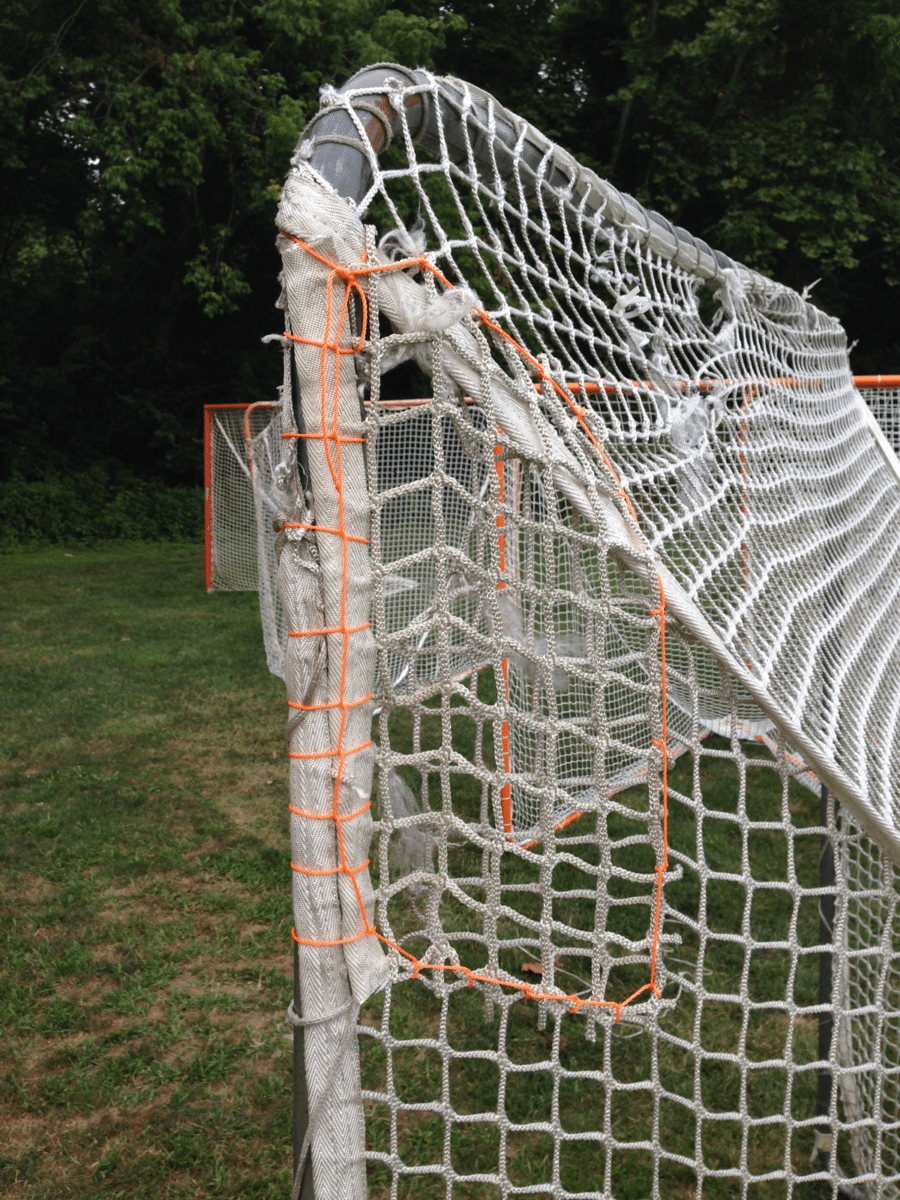
Where this method isn’t something you want to use for game nets during your spring season, it can easily get your practice nets through one more season or save your upcoming clinics or camps. Stretch those backyard nets for more than they’re worth!
No comments:
Post a Comment